Every trip has two versions.
The first happens in your head. You picture smooth highways, scenic overlooks, good snacks, and maybe that roadside diner everyone swears serves the best pie in three counties.
The second version starts when someone realizes the driver’s license expired last month, the wheelchair is two inches wider than expected, or the hotel parking garage has an eight-foot clearance while your accessible van politely disagrees.
Those tiny surprises can turn excitement into frustration before the wheels even start rolling. That is why the 72 hours before vehicle pickup matter more than you think. This window gives you enough time to verify documents, confirm equipment measurements, double-check accessibility, and solve problems before reaching the rental counter.
So let’s plan these 72 hours right.
Verify Your Core Documentation and Compliance
The first phase of your 72-hour window focuses entirely on administrative alignment. Since adaptive vehicles are highly specialized commercial conversions, standard rental parameters require strict verification of insurance and operator licensing before a vehicle can be safely deployed from a local hub.
Confirm Driver Licensing and Age Thresholds
Most accessible van rentals set a minimum driver age of 25, and every individual who plans to operate the vehicle must possess a valid, unexpired state driver’s license. If multiple family members plan to share driving duties, they must be officially added to the rental paperwork. This is especially helpful for:
- Parents traveling with adult children
- Grandparents joining family vacations
- Caregivers rotating driving responsibilities
- Friends sharing long-distance travel
Double-check:
- Driver’s license expiration dates
- Correct legal names
- Additional authorized drivers
- Any state-specific requirements
Quick Tip: Take clear photos of everyone’s licenses and store them securely on your phone. Keep the originals with you, but having digital copies can make the pickup process much easier if questions come up.
Coordinate Your Comprehensive Auto Insurance Coverage
Insurance often causes the biggest surprises during vehicle pickup.
Accessible vans are specialty vehicles. Unlike standard consumer car rentals, these conversion vehicles require explicit verification of active comprehensive and collision coverage that transfers cleanly to a temporary vehicle.
About three days before pickup:
- Contact your insurance provider.
- Confirm collision and comprehensive coverage.
- Ask whether rental accessible vans are included.
- Request a formal binder or digital coverage declaration page
- Verify deductibles and exclusions.
Many personal auto policies naturally extend to standard rental sedans or small utility vehicles, but conversion vehicles often occupy a different asset class due to the structural modifications and accessible equipment installed inside.
By calling your insurance agent three days prior, you can confirm whether a temporary commercial rider is necessary or if your current policy covers the full replacement value of a modified vehicle. If your provider requires a specific serial number or vehicle classification, your local dealer hub can supply that information instantly, closing the compliance loop before you arrive.
However, if your agent gives an unclear answer, ask the rental company about their own supplemental coverage. Get the confirmation in writing (an email works fine) so you’re not relying on memory during a stressful moment.
Gather Out-of-State Parking Placards
If your destination takes you across state lines, verify the local reciprocity laws regarding disabled parking placards. While most states honor out-of-state permits, some metropolitan areas require specific placement rules or temporary regional passes for public street parking.
According to the United States Access Board, utilizing designated accessible parking spaces with painted crosshatching is essential for the safe deployment of side-entry ramps. Furthermore, some municipal parking garages offer fee waivers or extended time limits for vehicles displaying a valid placard, but these policies vary significantly by county and state.
Before departure:
- Carry the original placard.
- Bring any supporting documentation if recommended.
- Review local parking restrictions.
Some cities have additional rules regarding meters, time limits, or reserved accessible spaces. A quick call to your home state’s DMV or a five-minute search can save twenty minutes of confusing parking lot negotiations later.
Cross-Reference Physical Dimensions and Equipment Layouts
A common travel hurdle is assuming that all adaptive vehicles utilize an identical interior footprint. To guarantee absolute comfort and safety, you must match the exact physical dimensions of your personal mobility equipment with the specific configuration of the rental fleet.
Measure Seated Height and Door Clearance
Instead of relying on standard manufacturing specifications for your wheelchair model, measure the seated height of the user from the floor to the highest point of the passenger’s head. This final number must be compared against the clear door entry height of your assigned van class, which typically ranges from 54 to 60 inches. This parameter prevents discomfort and ensures a smooth boarding process.
Remember to account for alternative seating setups, such as specialized pressure-relief cushions or backrests, which can raise a user’s seated height by two to three inches compared to a bare factory seat.
If the individual uses a power chair with an adjustable seat elevator, ensure the chair is measured at its lowest driving position. These precise physical measurements will guarantee that you’re ducking under a door frame every single time you load up.
Confirm Total Equipment Width Against Ramp Parameters
Ramps have varying weight and width limits; both matter more than you might expect. A power chair with a wide wheelbase can be within the ramp’s width allowance and still clip the side rails if you’re off-center by an inch, which is a genuinely annoying way to start a trip.
To avoid any issues, measure the widest physical points of your manual or power chair, ensuring your rental vehicle’s side or rear ramp provides comfortable clearance on either side for easy, unhurried rolling.
For power chairs equipped with heavy battery bases, verify that the combined weight of the user and the device falls safely within the standard 800-to-1,000-pound maximum capacity of modern structural aluminum ramps.
In addition to width, look closely at the total length of the mobility device, including footrests, anti-tip wheels, and rear-mounted gear bags. A longer power chair requires a larger turning radius inside the vehicle cabin to transition into a front-passenger position or lock into a mid-cabin tie-down array.
When you share these exact measurements with your local dealer representative 72 hours early, it allows them to visually inspect the vehicle interior and solve any issues in advance.
Choose Between Side-Entry and Rear-Entry Configurations
Side-entry and rear-entry accessible vans aren’t just a layout preference; they change how you navigate daily parking.
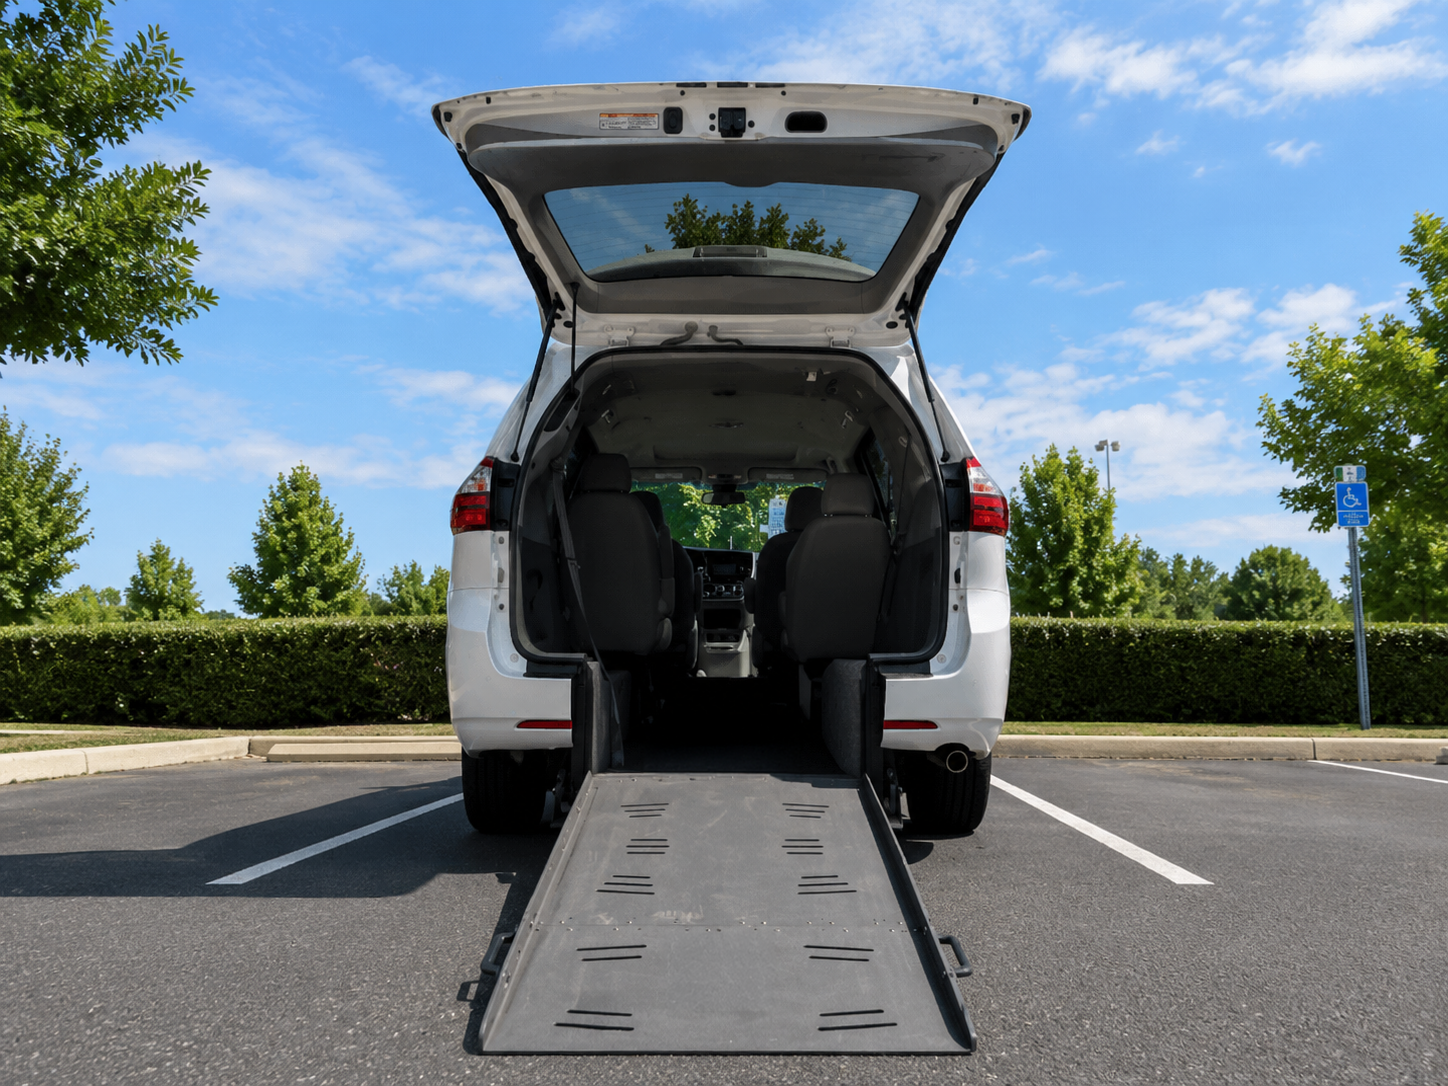
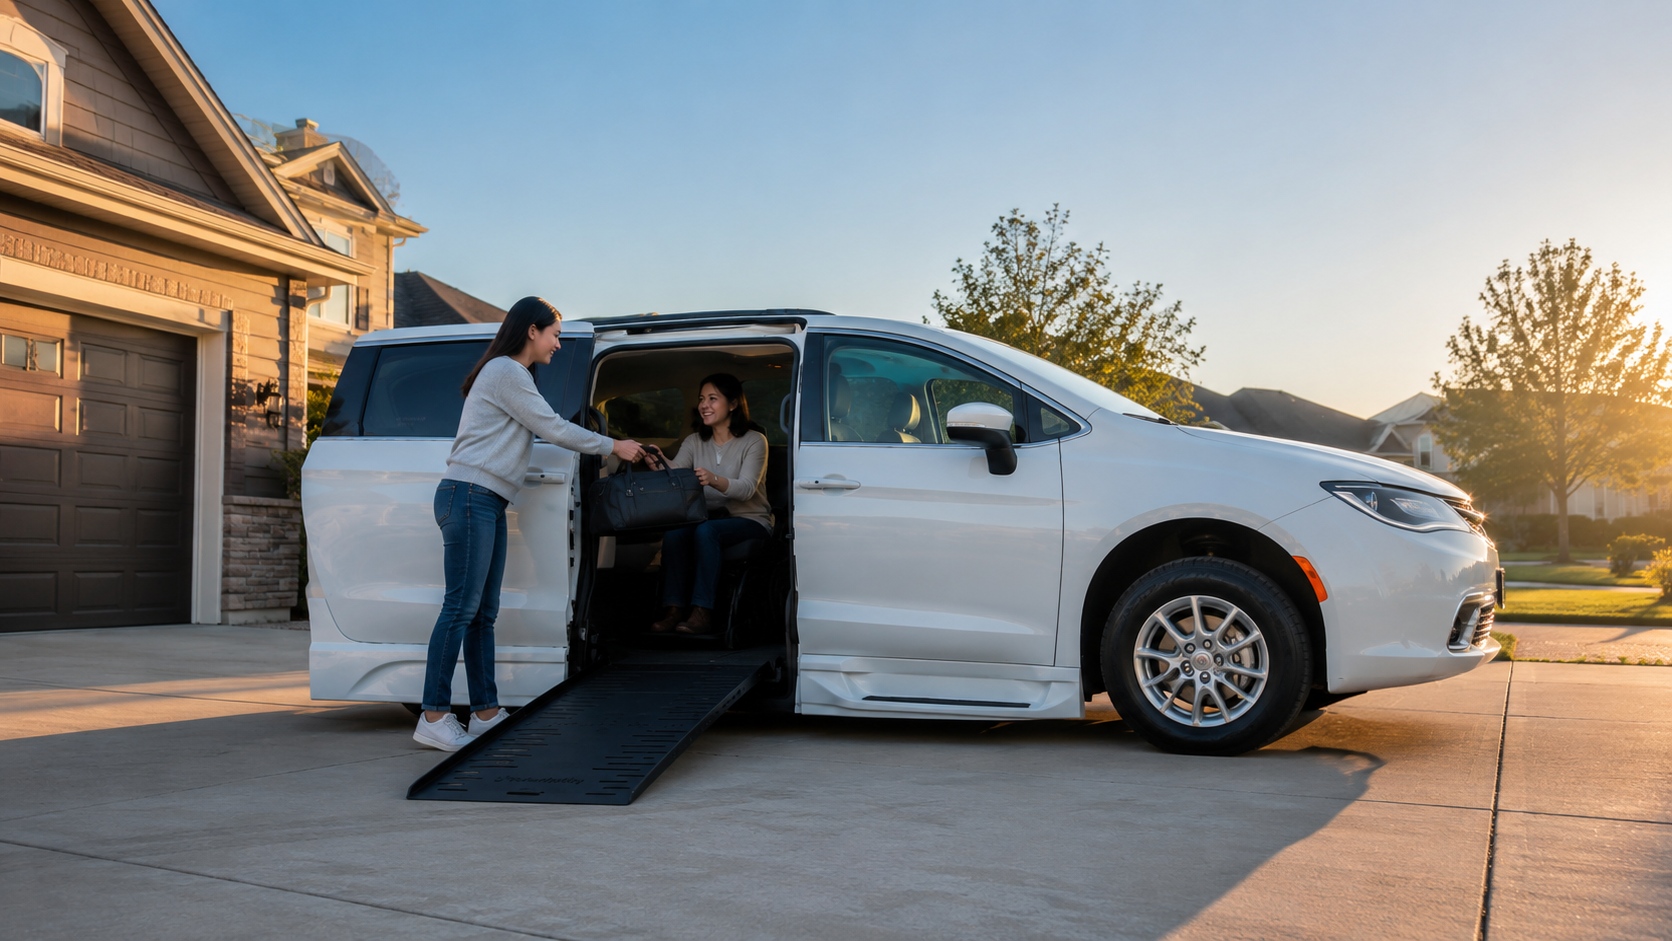
Side-entry ramps are excellent for standard curbside drop-offs and sidewalk access, but they require wide, crosshatched parking spaces to deploy fully. Rear-entry layouts allow you to pull directly into any standard parallel or perimeter parking space, deploying the ramp straight out behind the vehicle bumper.
Use your 72-hour window to review your destination’s parking style and confirm that your assigned vehicle layout aligns with your route environment.
For example, if your trip involves historic downtown areas with tight parallel parking and minimal off-street lots, a rear-entry configuration gives you the freedom to unload directly into the street buffer zone without worrying about adjacent cars parking too close to your side doors.
Conversely, if you are visiting modern resorts or suburban shopping complexes with dedicated accessible parking stalls, a side-entry layout allows the passenger to exit directly onto a safe, paved sidewalk buffer.
Inspect Securement Systems and Cabin Safety Features
Inside an adaptive cabin, safety depends on proper securement. Ideally, your vehicle should have a reliable, high-integrity tie-down layout, protecting your passengers from highway vibrations and sudden stops.
Understand Four-Point Tie-Down Track Systems
Standard professional conversions feature heavy-duty floor tracks paired with adjustable, high-tensile strength tie-down straps. The design helps:
- Limit wheelchair movement
- Improve passenger stability
- Increase safety during braking
- Reduce shifting while cornering
If you’ve never used this system before, ask for a demonstration during pickup. Your rental agent will walk you through the proper geometry of attaching these clips directly to the structural frame of your wheelchair, guaranteeing an airtight lock before you drive. The tie-down straps must be anchored at a precise 45-degree angle relative to the floor to properly disperse energy during a sudden highway deceleration.
Evaluate Electronic Docking Alternatives
If you utilize an automated electronic docking system (such as an EZ Lock) on your personal mobility device, mention this to your dealer hub 72 hours before arrival. While many rental fleets rely on universal manual tie-downs to accommodate all chair styles, early communication allows technicians to verify if a compatible base plate can be matched to your equipment layout, maximizing your independent boarding speed.
If an electronic docking base is not compatible with the specific rental unit, the universal four-point manual system can always be deployed as a highly secure alternative. This wheelchair van pre-trip inspection helps prepare the occupant for the manual strapping routine, turning a potentially confusing pickup moment into a stress-free boarding process.
Like what you’re reading? Subscribe to our newsletter and get new updates directly to your inbox.
Map Your Route Around Barrier-Free Infrastructure
A beautiful road trip depends on what happens between your primary destinations. When planning an accessible trip, map out your highway rest stops and local staging areas so your days remain completely relaxed and enjoyable.
Identify Paved Rest Stops and Van-Accessible Parking
Standard GPS apps are excellent for tracking traffic delays, but they do not display infrastructure details.
When evaluating stops along your route, look specifically for:
- Accessible fuel stations
- Paved rest areas
- Van-accessible parking
- Accessible restaurants
- Wheelchair-friendly attractions
- Hospital locations along the route
Before leaving, research state-run rest areas or modern travel plazas. These public locations are legally required to maintain level concrete approaches, automated entry doors, and wide single-occupancy facilities, providing a stress-free environment for family rest breaks.
Account for Local Cleansing and Fleet Sanitization Windows
At Wheelchair Getaways, every vehicle undergoes a multi-point inspection and detailed sanitization sweep before it is handed over to your family.
However, confirm your exact arrival time with your local hub 72 hours in advance. This coordination allows the local detailing team to complete their safety protocols. It also gives the local team time to pre-configure the interior seating arrangement, especially if you need a removable passenger seat for a wheelchair user to ride up front or a specific rear bench arrangement for luggage storage.
The 72-Hour Accessible Van Rental Checklist
To keep your planning completely streamlined, use this scannable priority list exactly three days before your departure time:
- Documentation: Secure your auto insurance declaration binder showing temporary coverage transfer.
- Licensing: Verify that all active family drivers possess valid, unexpired state licenses.
- Measurement: Take a physical tape measure and record the absolute seated height and width of your chair. Don’t forget to verify ramp compatibility, securement system, and van layout.
- Route Review: Identify at least two fully accessible highway rest stops along your first 200 miles of travel.
- Hub Coordination: Finalize your exact pickup hour with your local dealer representative to streamline your departure.
On pickup day:
- Inspect the vehicle.
- Test adaptive equipment.
- Practice securement.
- Adjust mirrors and seating.
- Save emergency contact numbers.
One last snack check is optional, but highly recommended because road trips have an uncanny ability to make everyone hungry approximately seventeen minutes after departure.
Head Out With Absolute Confidence
Whether you’re traveling for a family vacation, a medical appointment, a special event, or simply exploring somewhere new, a systematic pre-trip audit 72 hours can effectively remove the friction that leads to travel fatigue. During this time frame, you can arrange the documentation, confirm the dimensions, understand your securement system, and scout your trip route.
When renting an adaptive vehicle, Wheelchair Getaways makes the process simple with dependable wheelchair-accessible vans, flexible rental options, professionally maintained vehicles, and knowledgeable support every step of the way. Contact us at (855) 419-4335 or fill out this online form to reserve your van today.