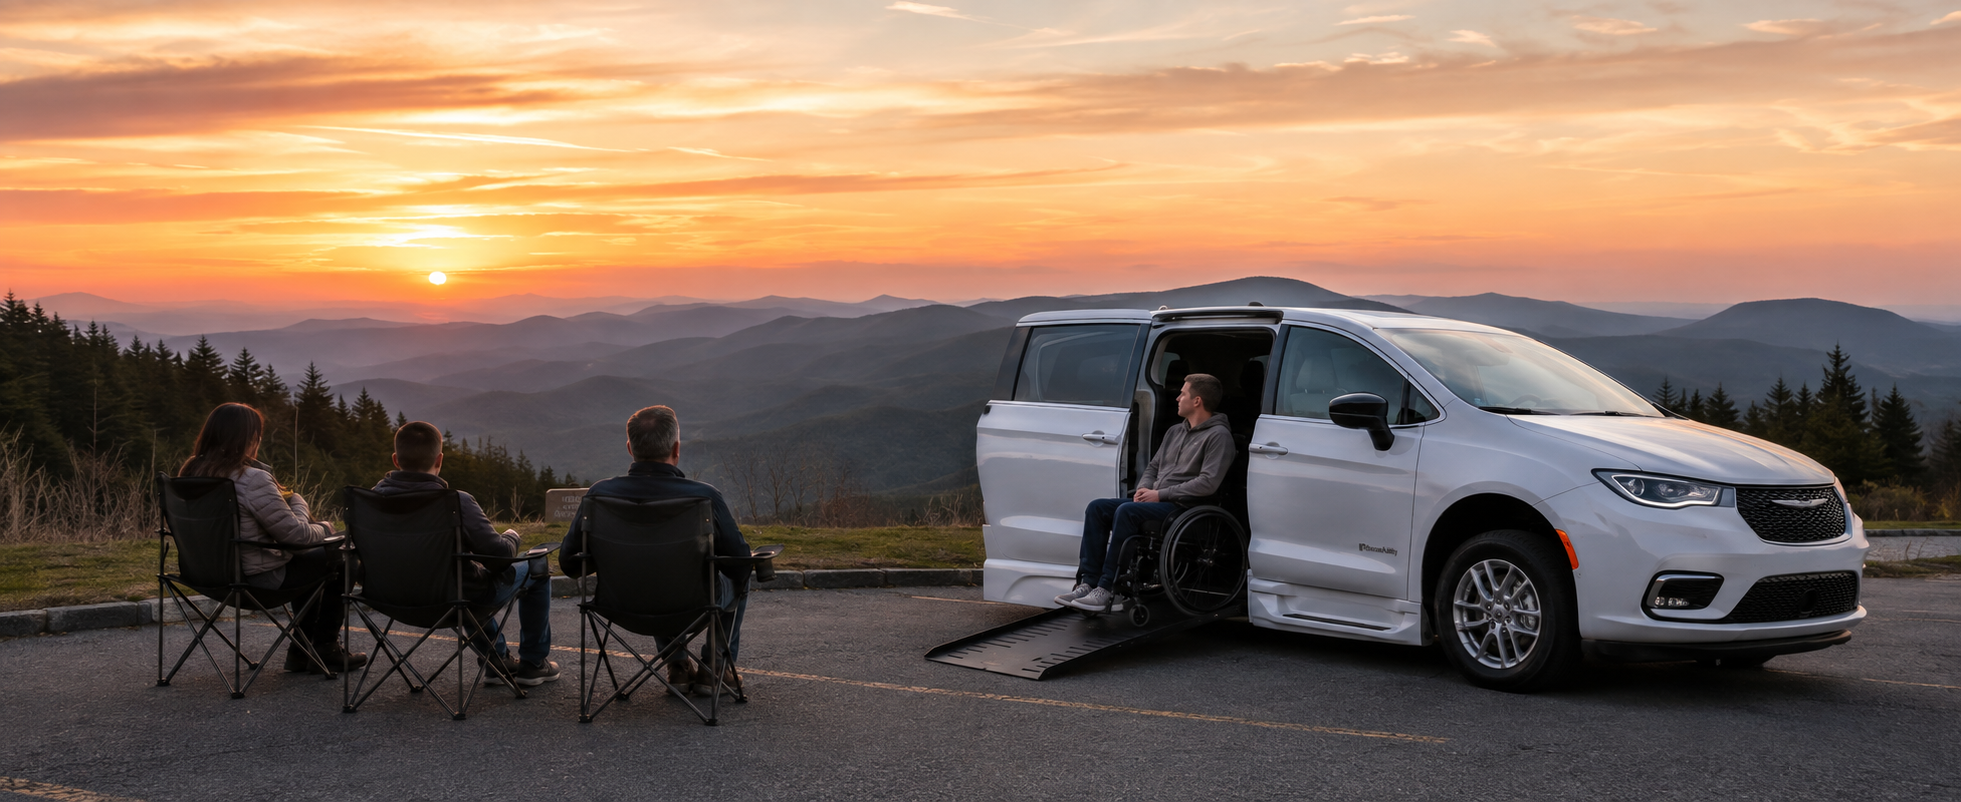
Some road trips are measured in miles. The Blue Ridge Parkway is better measured in overlooks, changing elevations, and the number of times someone says, “Wait, pull over. Look at that!”
It runs between Shenandoah National Park in Virginia and Great Smoky Mountains National Park in North Carolina, making this route especially appealing for a scenic driving Virginia-North Carolina adventure.
But what about accessibility? In this guide, we’ll cover wheelchair-accessible Blue Ridge Parkway overlooks, visitor centers with real ramps, and van logistics for a no-hike tour.
Some road trips are measured in miles. The Blue Ridge Parkway is better measured in overlooks, changing elevations, and the number of times someone says, “Wait, pull over. Look at that!”
It runs between Shenandoah National Park in Virginia and Great Smoky Mountains National Park in North Carolina, making this route especially appealing for a scenic driving Virginia-North Carolina adventure.
But what about accessibility? In this guide, we’ll cover wheelchair-accessible Blue Ridge Parkway overlooks, visitor centers with real ramps, and van logistics for a no-hike tour.
America’s Favorite Highway Was Made for Looking Out the Window
The Blue Ridge Parkway stretches 469 miles through the Virginia and North Carolina mountains, and it’s often called America’s Favorite Drive for a reason that has nothing to do with hiking. The road itself is the attraction.
Engineers in the 1930s laid it out specifically so the views would open up through the windshield and side windows. We’re talking about sweeping ridgelines, layered valleys, the kind of Appalachian panorama most parks make you earn with a two-mile climb.
For an accessible rental van, that’s the whole point. Roll down to a pull-off, park facing the view, and you’re looking at the same Shenandoah Valley or Smoky Mountain skyline as the person who hiked three miles to get there, except you got there with the AC still running.
The Best Blue Ridge Parkway Accessible Overlooks
Not every scenic stop has the same surface, parking layout, or access. The National Park Service notes that many Parkway facilities are wheelchair accessible, although some have minor slopes or structural barriers.
That is why it helps to think beyond the word “accessible.” A stop can have an accessible facility without offering the kind of easy vehicle-based viewing you actually want.
Virginia: Big Valley Views Without a Big Climb
Ravens Roost Overlook (Mi 10.7)
Located at the northern end of the Parkway near Waynesboro, VA, Ravens Roost is a paved perimeter loop that leads to a wide stone wall built at a broad viewing area overlooking the Shenandoah Valley. It’s one of the first big payoffs for late afternoon when the valley haze catches the light.
As with any Parkway stop, check current conditions before traveling. Weather, maintenance, and construction can change access with surprisingly little warning.
Peaks of Otter (Mi 85.6)
Peaks of Otter is more of a whole accessible stop with a flat loop trail around Abbott Lake. There is an accessible visitor center with restrooms, and several paved pull-offs along the lake road frame Sharp Top and Flat Top mountains without requiring you to leave the parking area.
North Carolina Section: Milepost 217 to 469
Linn Cove Viaduct Overlook (Mi 304)
The Linn Cove Viaduct is one of the Parkway’s signature sights, stretching 1,234 feet around Grandfather Mountain. The overlook has a fully accessible visitor center and flat concrete boardwalks that bring you close enough to see the structure’s underside sweep against the ridgeline.
It’s important to note that the Linn Cove Visitor Center is temporarily closed, so do not build your accessibility plan around walking into the visitor center without checking its status first.
Waterrock Knob (Mi 451.2)
At 5,820 feet, Waterrock Knob is the highest point on the entire Parkway, and the payoff is a paved parking loop with 360-degree Appalachian views.
It is also a reminder that “mountain air” is not just poetic language. At this elevation, conditions can feel very different from lower down. Bring some layers even if your starting point feels warm.
Like what you’re reading? Subscribe to our newsletter and get new updates directly to your inbox.
Navigating the Parkway: Vehicle Layouts & Drive Mechanics
For an adaptive van road trip along the Blue Ridge, vehicle layout matters almost as much as the destination. This includes headroom, interior space, lowered floor, window clearance, and ramp access.
Large Passenger Windows to Maximize Sightlines
A full-size conversion van or minivan can give passengers a better sightline above the stone guard walls that line most Parkway overlooks, which means you’re not squinting through a gap in the masonry to see the valley below. Large side windows are especially useful when the scenery is unfolding beside you rather than directly ahead.
Before setting off, think about:
- Which side gives the wheelchair passenger the best view?
- Is there enough interior room to reposition without blocking another passenger?
- Does the vehicle provide enough clearance for the wheelchair and any attached equipment?
- Can everyone remain comfortably seated while the driver handles the Parkway’s curves?
Side-Ramp vs. Rear-Ramp Safety at Mountain Overlooks
Mountain overlooks can have unusual parking layouts, narrow shoulders, stone barriers, or cars easing past at 25 mph. That makes ramp placement worth considering before you pull in.
Rear-entry vans deploy the ramp into the perimeter buffer behind the vehicle instead of toward the traffic lane, which is the safer setup at most Parkway pull-offs where the paved area is generous in length but tight in width. Side entry vehicles can work too, particularly where there is enough clearance beside the van.
The important part is not choosing one ramp style for every traveler – it’s checking whether the specific parking layout gives you enough room to deploy the ramp safely without extending into traffic or onto an uneven edge.
Logistics for a Flawless Mountain Road Trip
When planning a mountain road trip, also look at the weather, fuel refills, and cell service.
Focus on the Weather
Temperature drops roughly 3°F to 5°F for every 1,000 feet you climb, and Waterrock Knob alone takes you nearly 6,000 feet above sea level. A 75-degree afternoon at the base can be a windbreaker-and-gloves stop at the summit overlook.
If your van’s secondary climate control zone serves the back cabin, run it a few degrees warmer than you think you need before you start the climb. It’s easier to crack a window than to warm up fast at 5,800 feet.
Keep easy access to:
- A light jacket or extra layer
- Blankets if someone gets cold easily
- Water and snacks
- Any mobility equipment accessories you may need
- Phone chargers and backup power
- Sunglasses for bright mountain views
Fill up the Tank
The Parkway itself has zero gas stations along its entire 469 miles. Gas, food, and cell service are all on the spur roads that lead toward nearby towns. The practical move is to fuel up before you enter a long stretch and treat any town near an exit, such as Waynesboro, Blowing Rock, or Asheville, as your refueling checkpoint.
That matters even more for an accessible road trip because your fuel stop is not simply about filling the tank. You may also need an accessible restroom, food, a comfortable place to reposition, or room to check your vehicle.
Cell service along the Parkway corridor is spotty at best, so download offline maps to access your route information.
Your Blue Ridge Parkway Accessibility Checklist
Before heading out on one of the handicap accessible mountain overlooks, run through this quick list:
- Check road closures: Sections may close due to weather, rockslides, or seasonal maintenance with little notice, especially at higher elevations. So review the NPS road status page before departure and again on the morning of your drive.
- Map accessible facilities: Mark visitor centers, restrooms, picnic areas, and other stops you may need along the route.
- Pack for elevation: Keep extra layers within easy reach rather than buried under luggage.
- Plan fuel stops: Fill up before entering longer Parkway stretches.
- Download directions: Do not depend entirely on cell service or GPS.
- Allow extra time: The Parkway is deliberately slow-paced, so 30 miles can take about an hour under typical conditions.
- Check the actual overlook: Research the parking layout, surface, ramp clearance, and distance to the viewing area rather than relying on an “accessible” label alone.
- Secure the wheelchair: Mountain curves and grade changes put more lateral stress on a securement system than flat highway driving, so check four-point tie-down stability before entering winding sections.
Enjoy Blue Ridge Parkway Tour with Wheelchair Getaways
The Blue Ridge Parkway doesn’t ask you to experience the mountains in one particular way. You can stop at Ravens Roost overlook, watch the Peaks of Otter scenery through the van windows, visit an accessible visitor center, or simply stay parked while the clouds roll across the ridges.
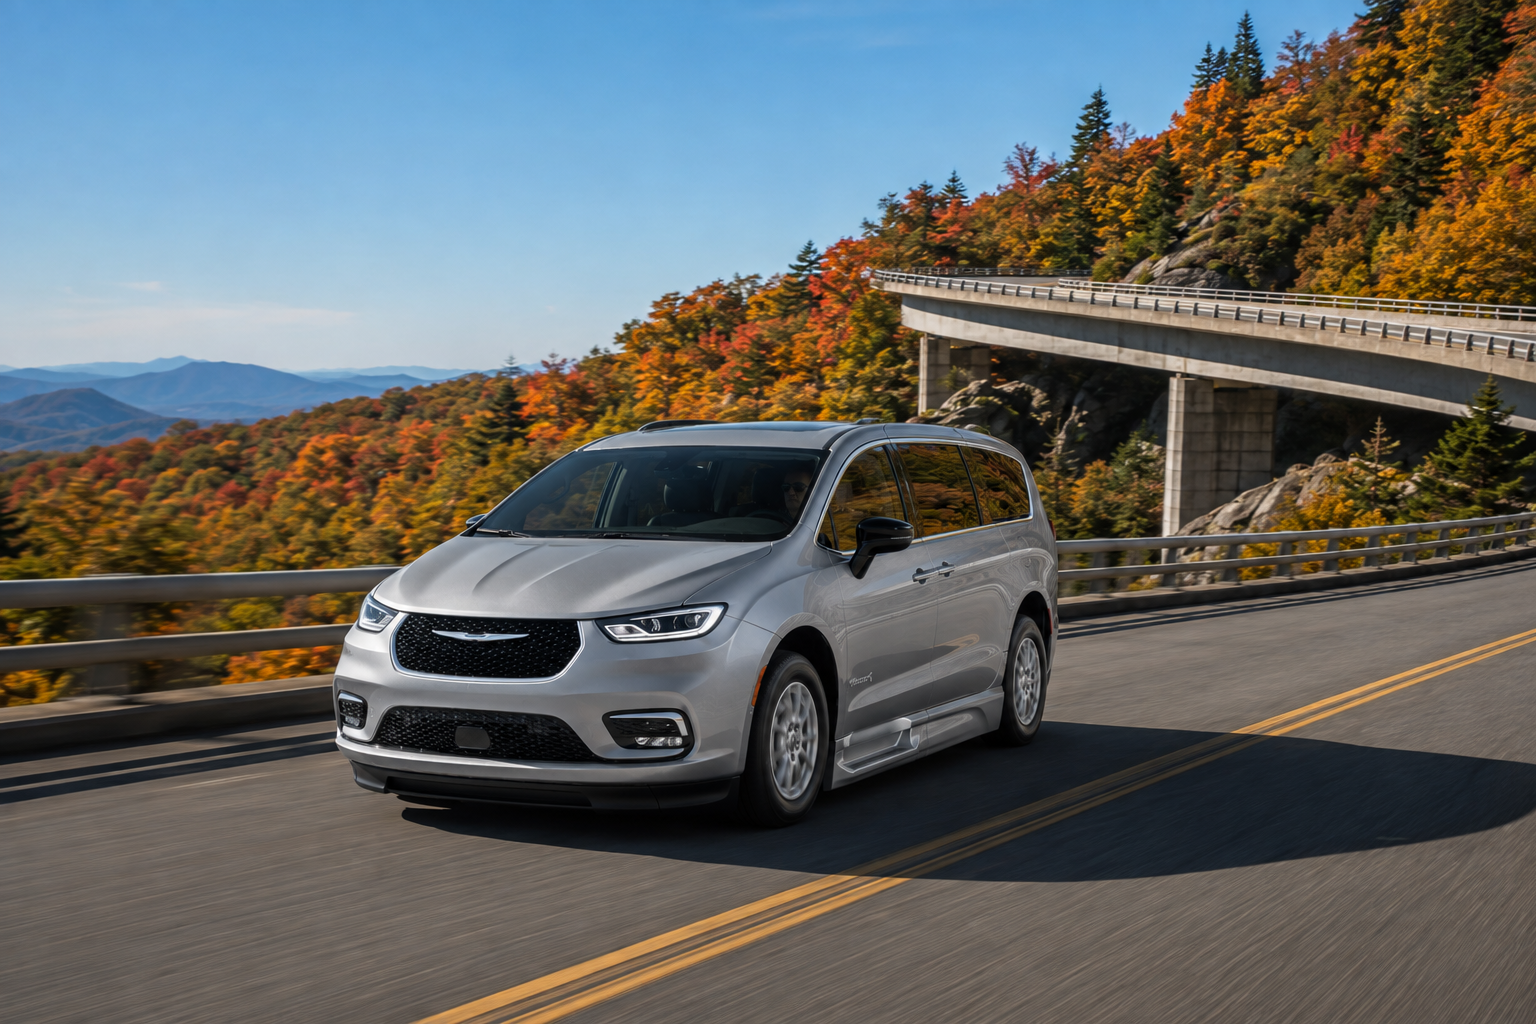
That flexibility is exactly what makes the Parkway such a good choice for accessible fall foliage drives for East Coast travelers. In autumn, the landscape changes by the mile, while a well-planned solo wheelchair road trip or family outing can keep the focus on the scenery.
If you need an accessible vehicle for your no-hike tour, Wheelchair Getaways has you covered. With availability at 210 locations nationwide, we offer wheelchair-accessible van rentals featuring ramps/lifts, a securement system, and spacious interiors, so you can spend less time worrying about transportation and more time enjoying the mountain views. For more information about rentals, call us at 855-419-4335 or fill out our quote request form.